Bug Bite Identification
Bug Bite Identification: Photo Clues and When to Seek Care
Learn the limits of bug bite identification, which skin changes to document, and when to seek medical care. A photo cannot confirm what caused a mark.
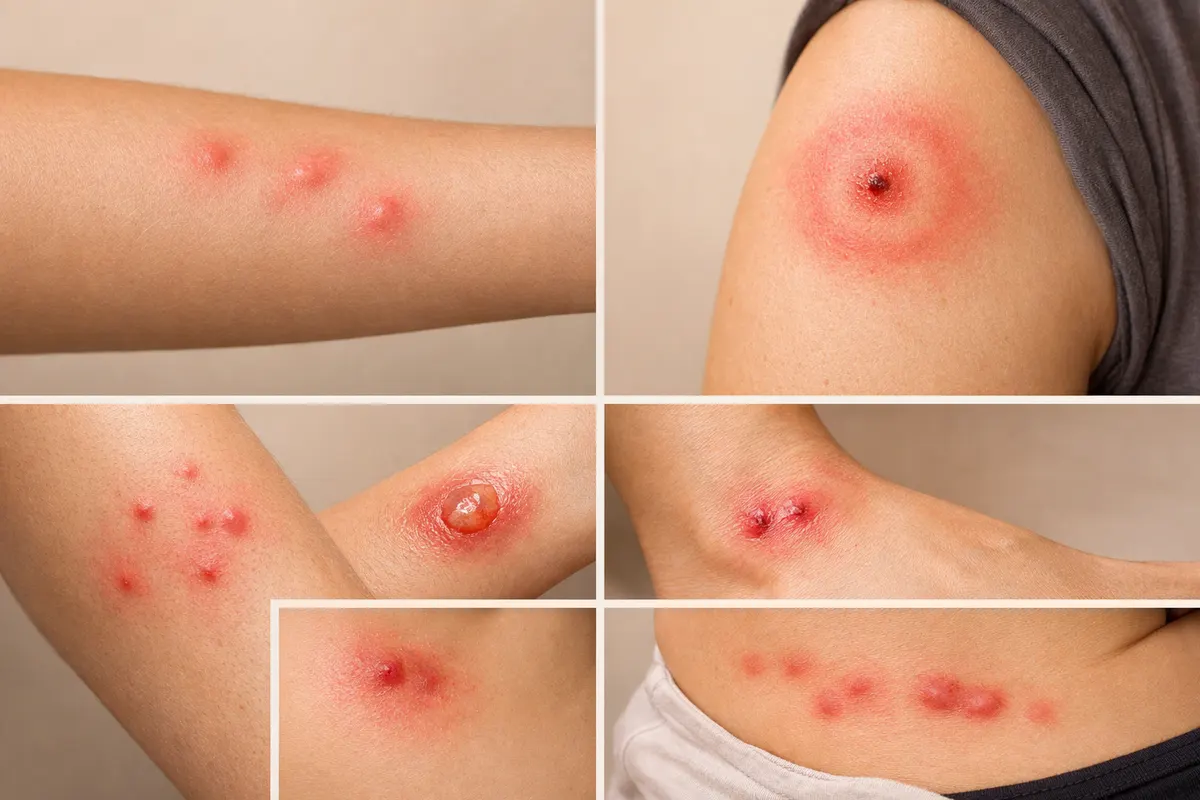
Bug bite identification starts with an important limit: skin appearance alone cannot reliably tell you what bit you, or establish that a mark is a bite at all. A photograph can document size, shape, distribution and changes over time. It cannot diagnose a rash, rule out infection or determine whether medical care is needed.
Lines, clusters, a central dot and raised bumps overlap across different bites and other skin conditions. The CDC explains that skin reactions are not diagnostic for bed bugs; finding and identifying the actual insect is better evidence (https://www.cdc.gov/dpdx/bedbugs/). Treat a pattern as an observation to record, not a species label.
For example, several bumps noticed after sleeping are a reason to inspect the surroundings, not proof of bed bugs. A single dark dot after a walk does not establish a tick attachment. If an insect or attached tick is actually visible, document it separately without delaying removal or necessary care.

Using a skin photo to document observations
Step 1
Record visible changes
If useful, take a dated photo without delaying medical care. Record symptoms and timing separately.
Step 2
Describe the observations
The photo check can describe visible features. It cannot identify what bit you or diagnose a skin condition.
Step 3
Share concerns with a clinician
Use the photo and notes to explain changes. An app result cannot decide whether care is needed.
Key visual signals to examine on a bite
Record the number and distribution of marks without assigning a cause. Note whether they are isolated, grouped or spread across different body areas, and whether they are changing. Include when you first noticed them, known outdoor exposure, and symptoms that a photograph cannot show, such as pain or feeling unwell.
Take an overview and one close, focused image in even light. If practical, include a ruler near the area without touching irritated skin. Keep later photographs dated and use similar lighting so differences in the image are not confused with changes in the skin. Do not scratch, squeeze or apply substances to improve a photograph.
Seek prompt medical advice for worsening symptoms, fever or a spreading rash. Difficulty breathing, fainting, or sudden swelling of the lips, mouth or tongue requires emergency help. Call your local emergency number rather than waiting to compare images. NHS guidance describes these warning signs (https://www.nhs.uk/conditions/insect-bites-and-stings/).
Keep environmental observations separate: a bug found on bedding, shed skins or stains on mattress seams may help a pest professional investigate. A photograph of the skin cannot confirm an infestation. Avoid treating a room or discarding belongings solely because a mark resembles an image online.
- Date and location on the body where each change was first noticed.
- Visible shape, distribution and approximate size.
- Symptoms and known exposures to discuss with a clinician.
- Separate photos of any insect or environmental signs.
What the Bug Bite Photo Check actually provides
The Bug Bite Photo Check describes visible features and helps organize observations for a clinician. It does not assign a biting insect, diagnose a condition, grade severity or decide whether care is needed. An inconclusive description is appropriate when the image is unclear or important details are missing.
For example, a useful description might record several raised marks in one area and note that the image does not establish their cause. That is different from calling them flea or bed bug bites. Keep your own timing and symptom notes alongside the photo because those details cannot be recovered from pixels.
Use the tool only to prepare observations. It does not prescribe medicine or replace a medical assessment. For a separately photographed insect, the insect-specific identifier can help compare visible insect features, while a pest professional can investigate suspected household activity.
- A description of visible features without a culprit diagnosis.
- Missing information and photo limitations.
- Observations to share with a clinician.
- No treatment plan, severity score or reassurance that care can wait.
Lookalikes and the checks that matter
Bites, hives, dermatitis and other rashes can overlap in appearance. A central mark, paired dots or a line of bumps does not reliably distinguish them. Describe what you can see without assuming that a visible spot is a feeding mark. A clinician considers symptoms, history and examination together.
An attached tick is different from a suspected bite mark. Remove an attached tick promptly following CDC instructions, using fine-tipped tweezers close to the skin and a steady upward pull. Do not delay removal to use an app. Record the date and location of exposure, and seek medical advice if a rash or fever develops.
CDC generally discourages testing ticks to guide treatment decisions. A result from a tick does not establish whether you were infected and should not delay care. See the CDC instructions for removal and follow-up (https://www.cdc.gov/ticks/after-a-tick-bite/index.html).
- Skin pattern alone cannot confirm bed bugs or fleas.
- A dark speck is not proof of an attached tick.
- A photo cannot rule out an allergic reaction or infection.
Frequently asked questions
Can bug bite identification confirm bed bugs from skin marks?
No. Lines or clusters of marks are not diagnostic. Inspect bedding and furniture for actual insects and other evidence, and ask a pest professional to assess suspected activity. Photograph a found insect separately; do not treat the skin photo as confirmation.
What should I do if I find an attached tick?
Remove it promptly using the CDC removal instructions linked above. Record the exposure date and place. Do not wait for image analysis or tick-testing results to seek care if you develop symptoms. A clinician can assess your exposure and advise on any next steps.
Can an unclear picture tell me whether I need medical care?
No. Neither a clear nor an unclear picture can determine that safely. Use symptoms and medical advice, not an app confidence score. If useful, take a clearer dated photo for a clinician without delaying care.
What should I document before using the photo check?
Record when the marks appeared, where they are, whether they are changing, and any symptoms or known exposures. Take an overview and close-up in even light. Avoid faces and identifying details, and keep environmental evidence separate from the skin photo.
Related guides
Organize visible observations with Bug Bite Photo Check
Use the Bug Bite Photo Check (https://bug-identifier.app/tools/bug-bite-identifier) to describe visible skin changes and prepare notes for a clinician. It cannot identify what bit you, diagnose a rash or decide whether care is needed. Seek medical help for concerning symptoms without waiting for a result.